How To Make Easy Walnut Brownie Truffles | Soft, Fudgy & Nutty Chocolate Treats
Meta Description
Make fudgy, delicious walnut brownie truffles quickly with this easy no-bake recipe. Perfect bite-sized chocolate treats for any occasion!
Introduction
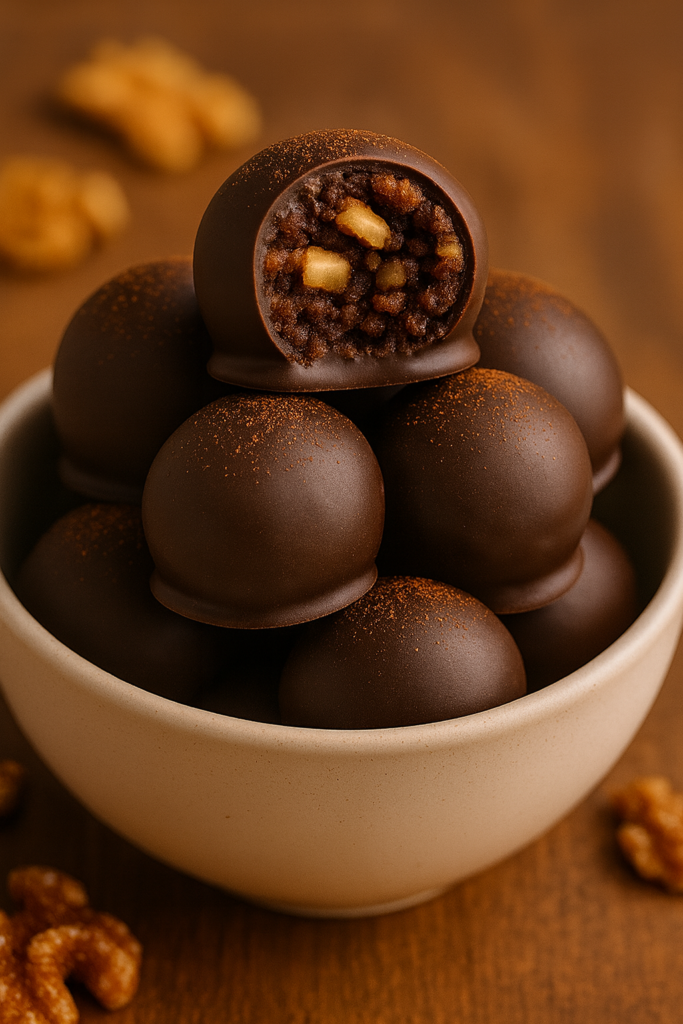
If you love rich, fudgy brownies and want a bite-sized treat, then these easy walnut brownie truffles are perfect for you! Not only are they soft and chocolatey, but they also pack a satisfying crunch from walnuts. Moreover, they’re incredibly simple to make, and best of all, no baking is required!
Whether you are preparing treats for guests or gifting chocolate delights, these truffles will surely impress. So, keep reading because the full step-by-step recipe is just below!
Ingredients
| Ingredient | Quantity |
|---|---|
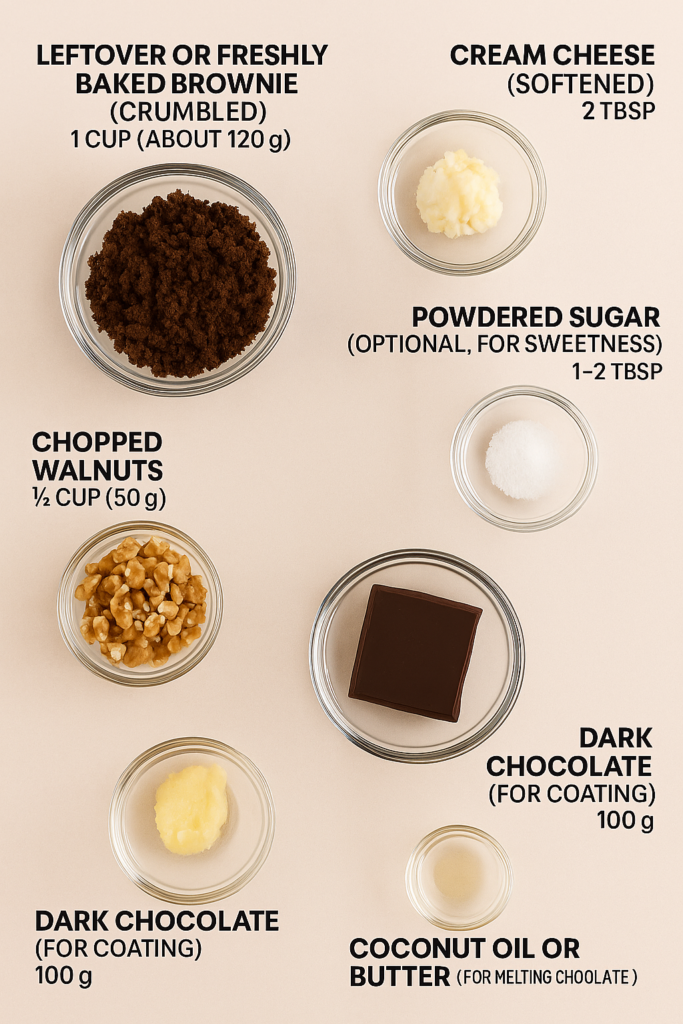
| Leftover or freshly baked brownie (crumbled) | 1 cup (about 120 g) |
| Cream cheese (softened) | 2 tbsp |
| Unsweetened cocoa powder | 2 tbsp |
| Powdered sugar (optional, for sweetness) | 1–2 tbsp |
| Chopped walnuts | ½ cup (50 g) |
| Dark chocolate (for coating) | 100 g |
| Coconut oil or butter (for melting chocolate) | 1 tsp |
Step-by-Step Method
Step 1: Prepare the Brownie Mixture
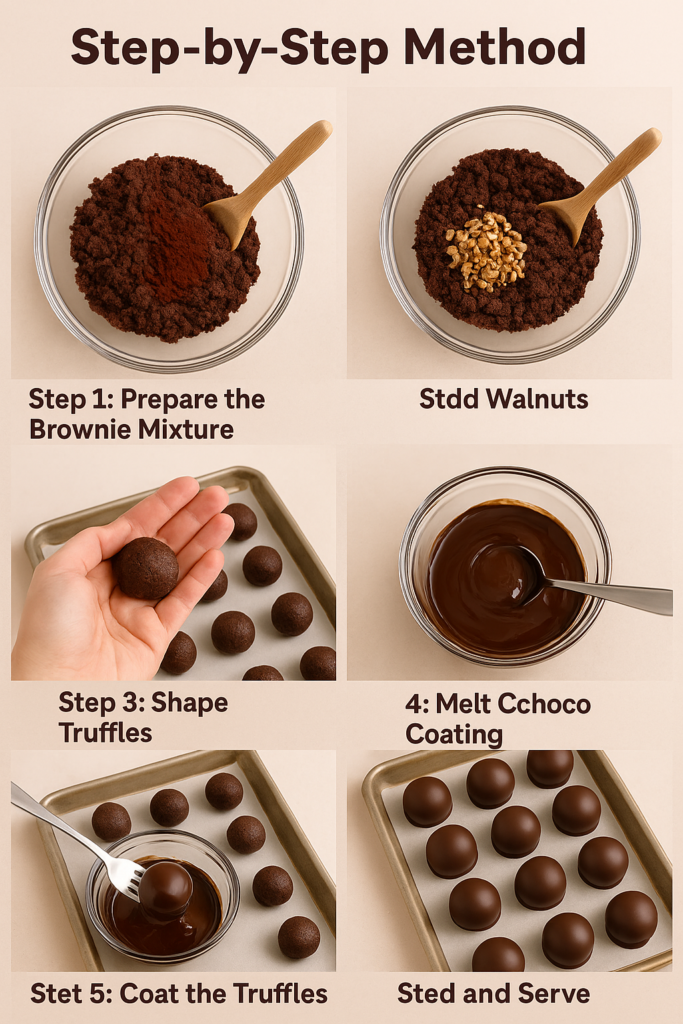
First, crumble the leftover or freshly baked brownies finely into a large bowl. Then, add the softened cream cheese, cocoa powder, and powdered sugar if you want your truffles sweeter. After that, mix everything well until the mixture becomes smooth and fully combined.
Step 2: Add Walnuts
Next, gently fold in the chopped walnuts. Make sure the walnuts are evenly distributed throughout the mixture to get crunchy bites in every truffle.
Step 3: Shape Truffles
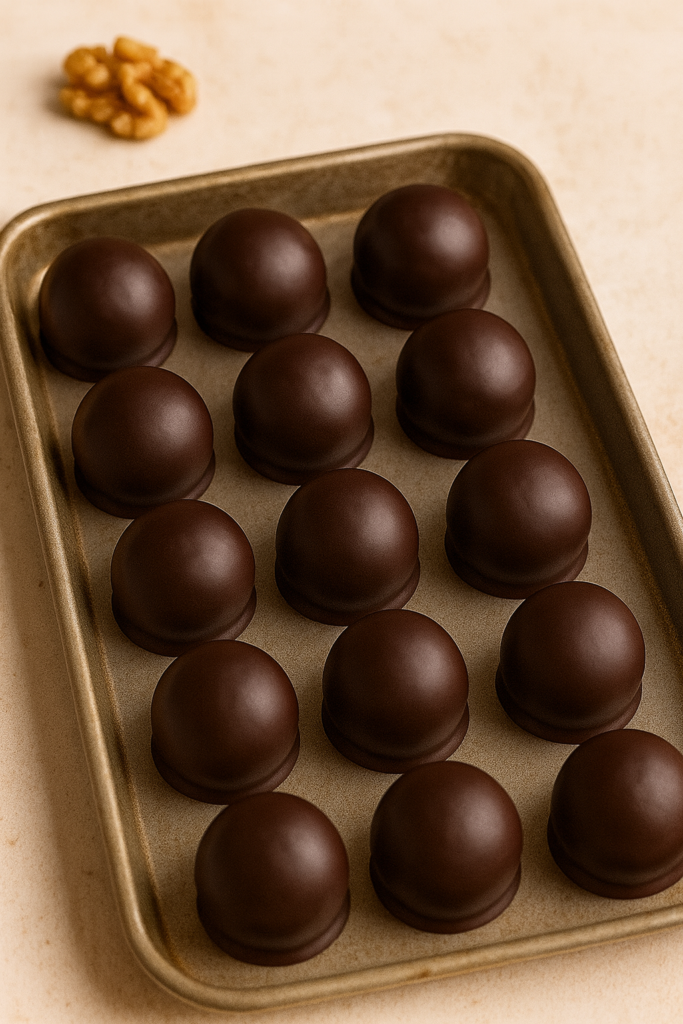
Now, use your hands or a small cookie scoop to roll the mixture into small balls, about one inch in diameter. After shaping, place the balls on a lined tray or plate. Meanwhile, chill them in the fridge for about 30 minutes so they firm up nicely.
Step 4: Melt Chocolate Coating
While the truffles are chilling, melt the dark chocolate together with coconut oil or butter. You can do this either in a microwave-safe bowl in short bursts or over a double boiler on the stove until smooth.
Step 5: Coat the Truffles
Once the truffles have firmed up, dip each ball into the melted chocolate using a fork or dipping tool. Be sure to coat each truffle fully with chocolate. Then, place them back on parchment paper to set.
Step 6: Set and Serve
Finally, chill the chocolate-coated truffles in the fridge for 20 to 30 minutes until the chocolate hardens completely. After that, serve chilled and enjoy!
Tips for Perfect Walnut Brownie Truffles
- To start with, use fresh brownies for the best flavor.
- Also, adjust the sweetness by adding more or less powdered sugar according to your taste.
- If you want a nut-free option, simply omit the walnuts or replace them with seeds.
- Moreover, store the truffles in an airtight container in the fridge for up to one week.
- For decoration, you can sprinkle cocoa powder, chopped nuts, or desiccated coconut on the truffles before the chocolate coating sets.
Why You’ll Love These Walnut Brownie Truffles
- Firstly, they are quick and easy to make with no baking required.
- Secondly, the texture is soft and fudgy with crunchy walnut bits in every bite.
- Furthermore, these truffles are perfect for gifts, parties, or just everyday indulgence.
- Finally, they are made with simple pantry ingredients that you likely already have.
Related Recipes You Might Like
External Resources
For more tips on chocolate tempering and coating, check out Serious Eats’ Chocolate Tempering Guide.
Additionally, learn about the health benefits of walnuts at WebMD’s Walnut Nutrition Facts.
Final Words
In conclusion, these easy walnut brownie truffles offer a delicious way to enjoy your favorite brownies in bite-sized form. Since they’re quick to make and require no baking, they are perfect for last-minute treats or gifting.
Therefore, try this recipe today and treat yourself and your loved ones to these irresistible chocolatey walnut delights!
avnisingla.de

No Responses